First Boot
Virtual Console
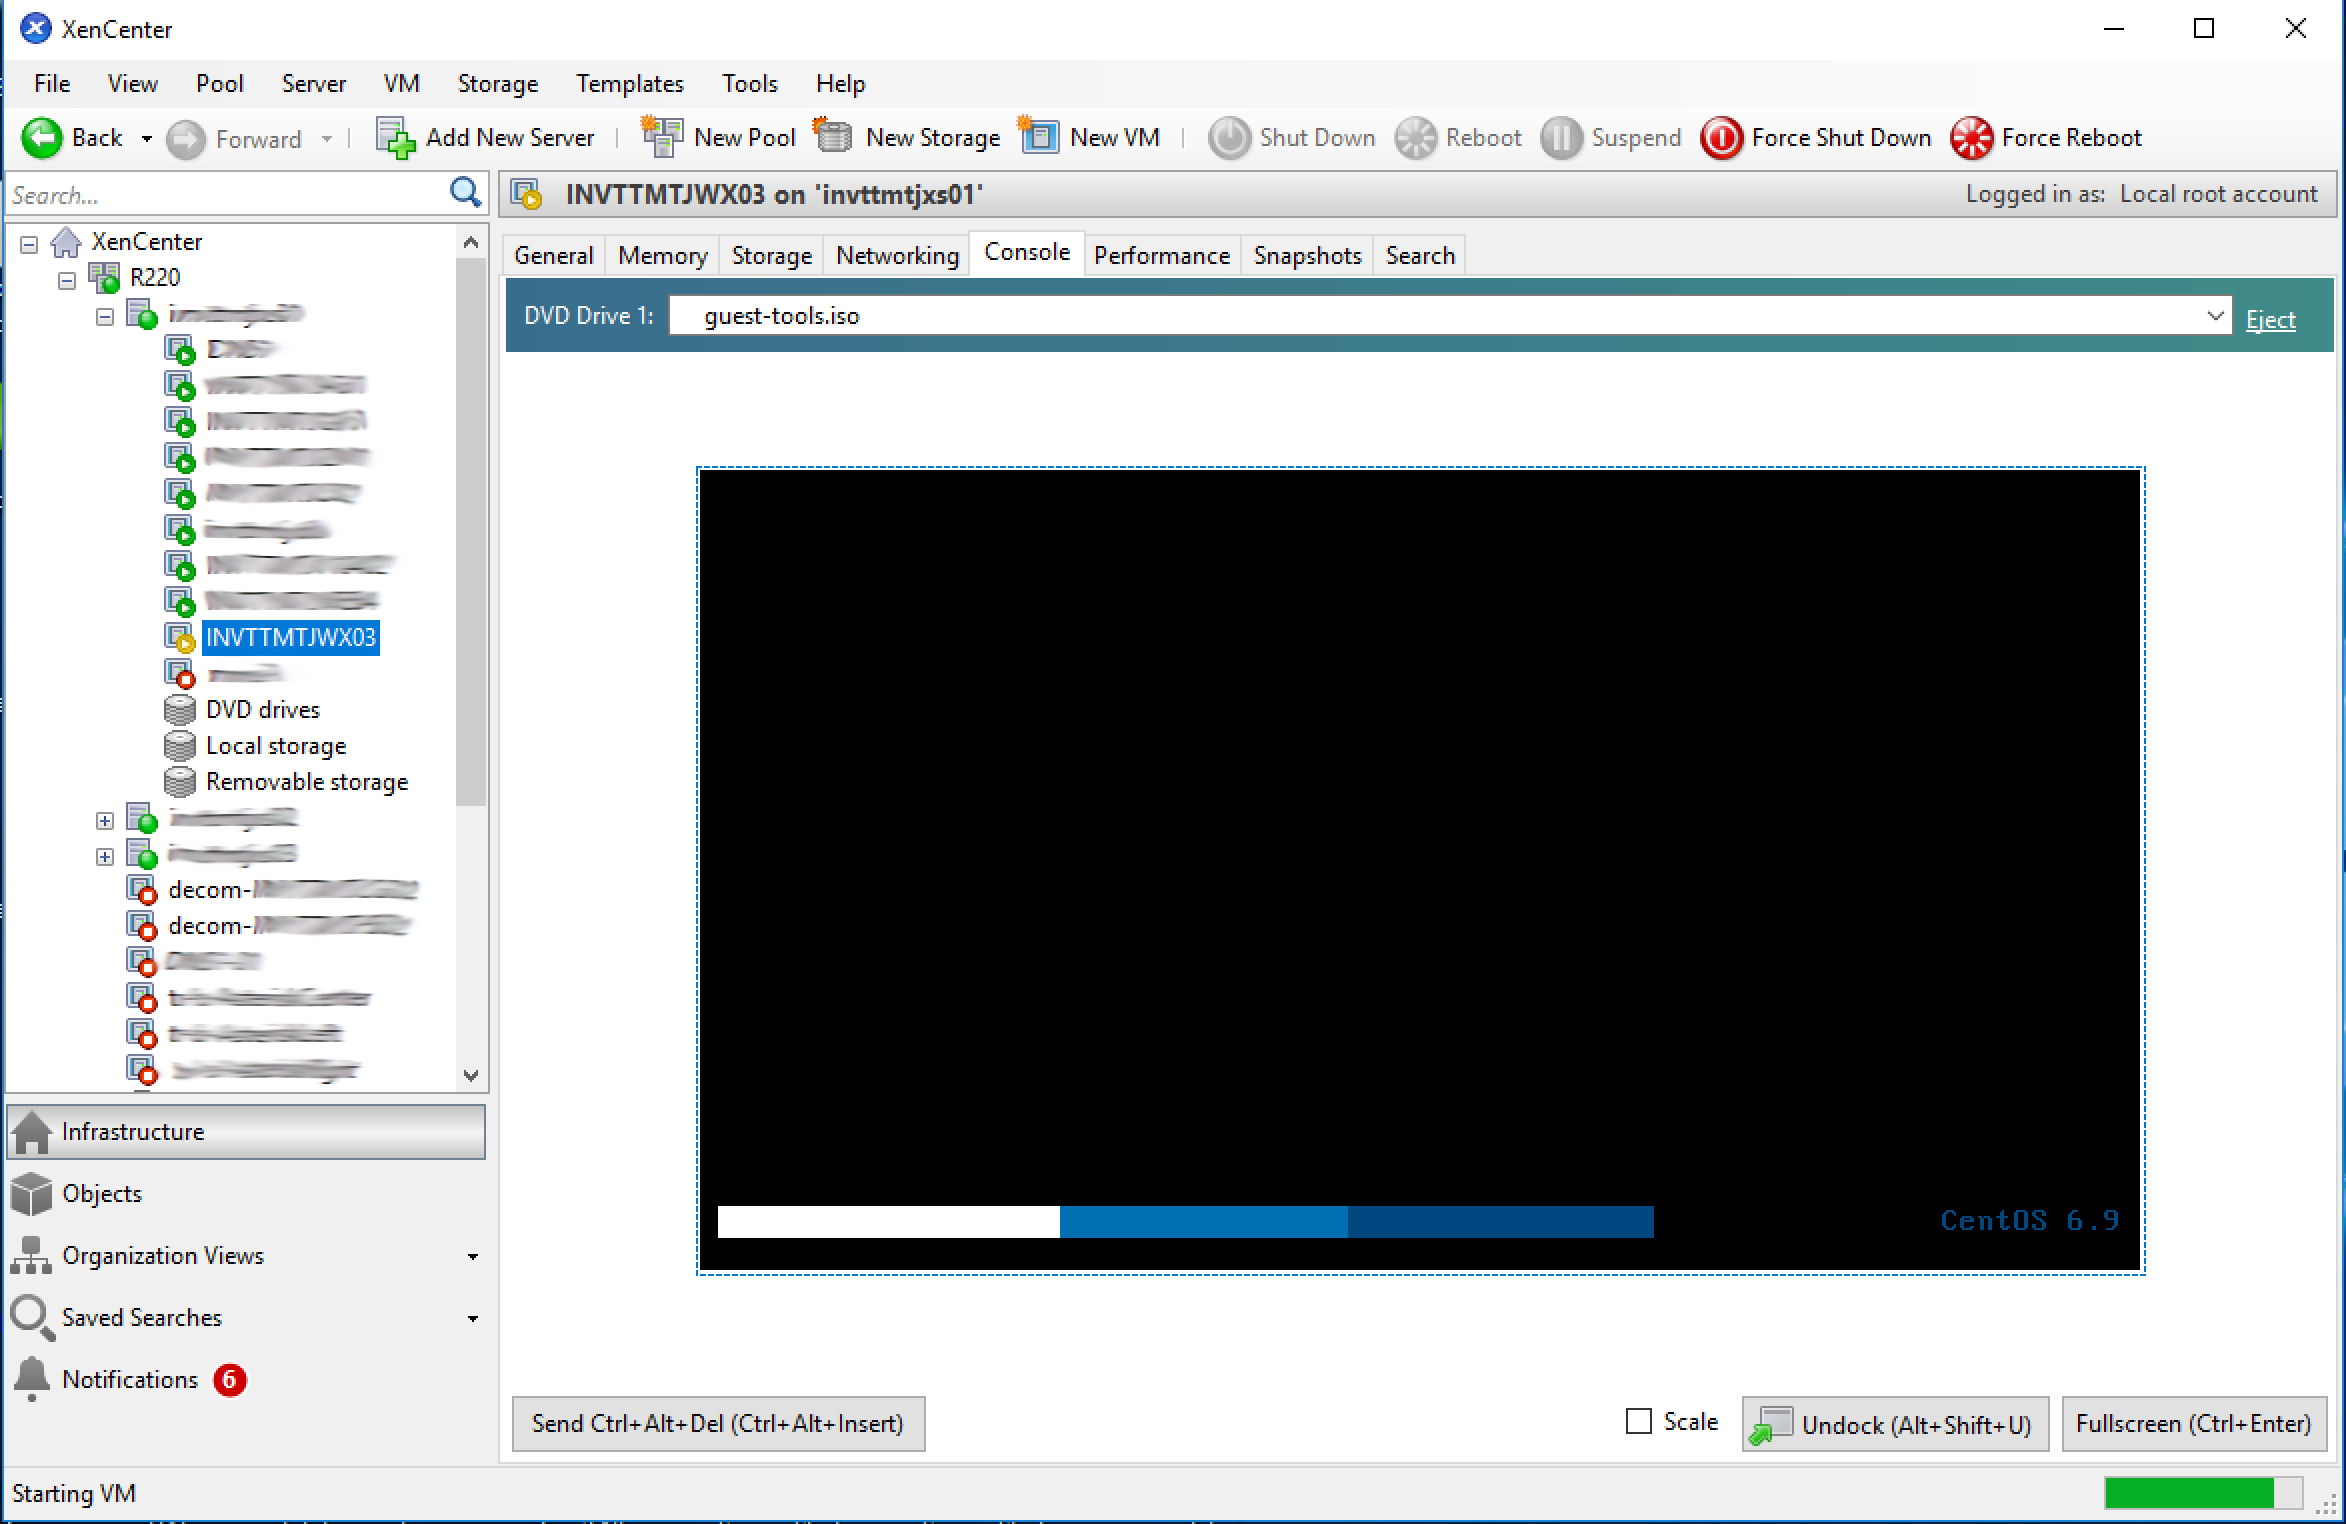
- Find the newly created virtual machine in XenCenter
Resource Pane. - Select the newly created virtual machine to see the
Properties tabs. - Select the
Consoletab to view Control Domain (Dom0) console.
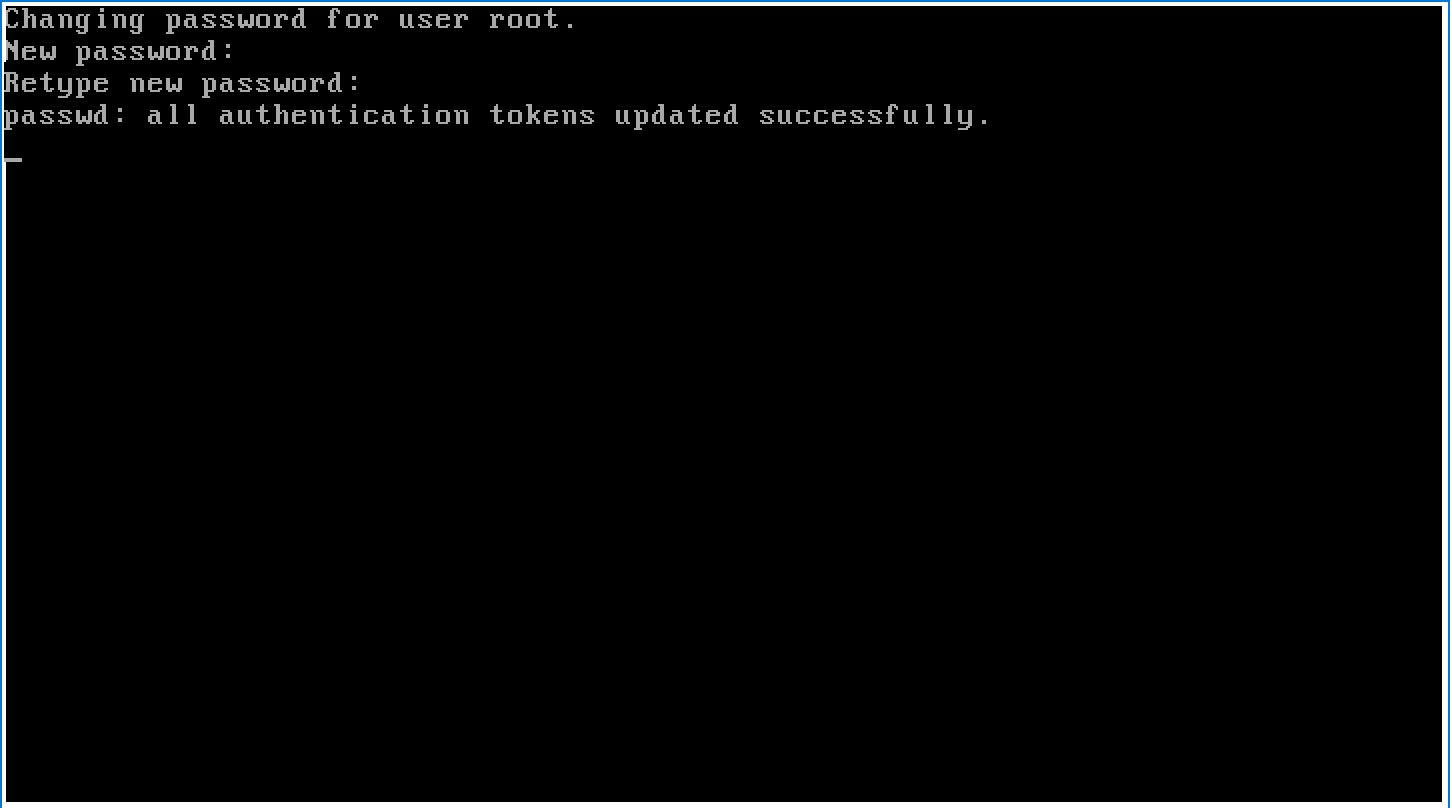
Root Password
When the newly created VM is booted for the first time, you’ll be prompted to change the root password.
- 該当のサーバをつかまえて、コンソールをみる
Important
Use the standard INVITE password for the root account.


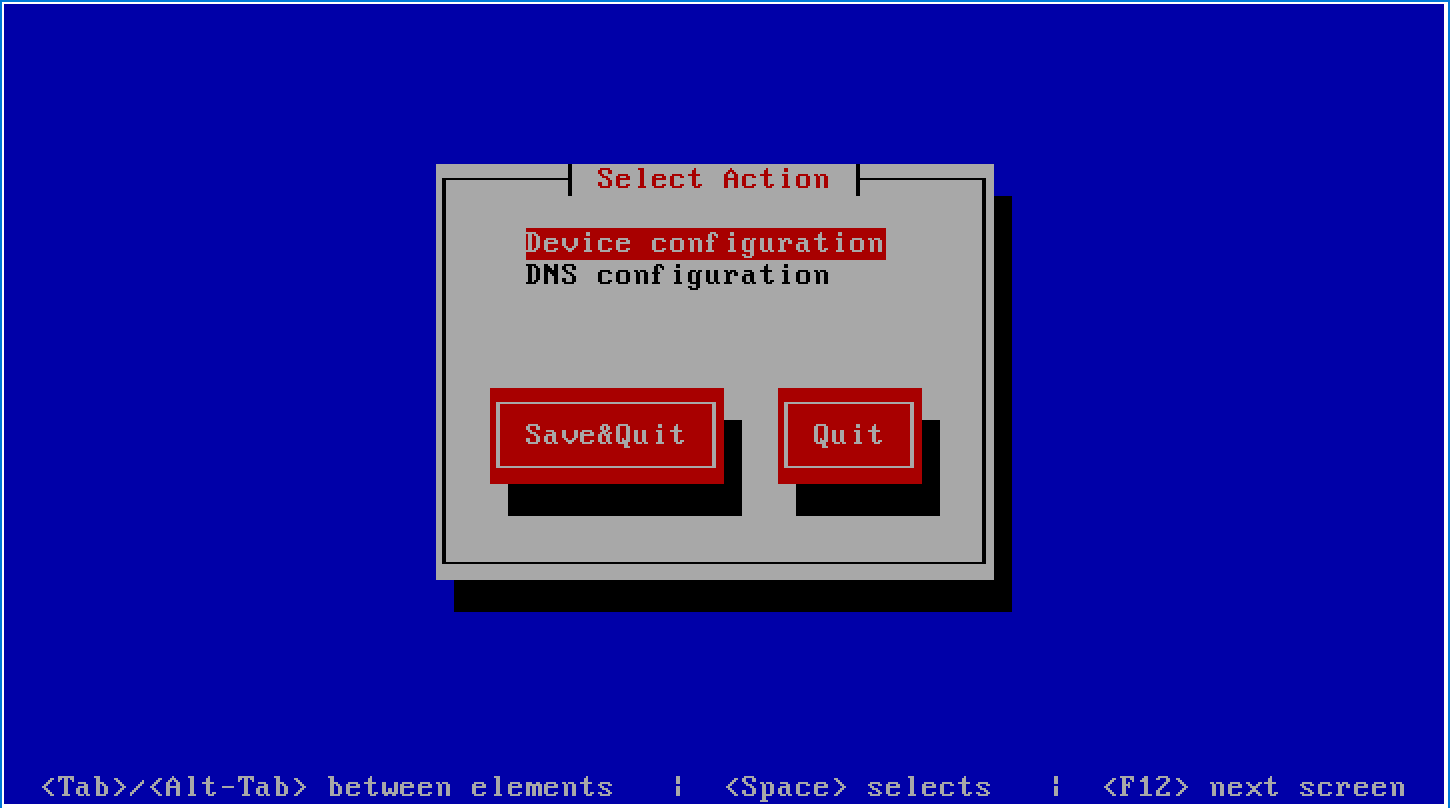
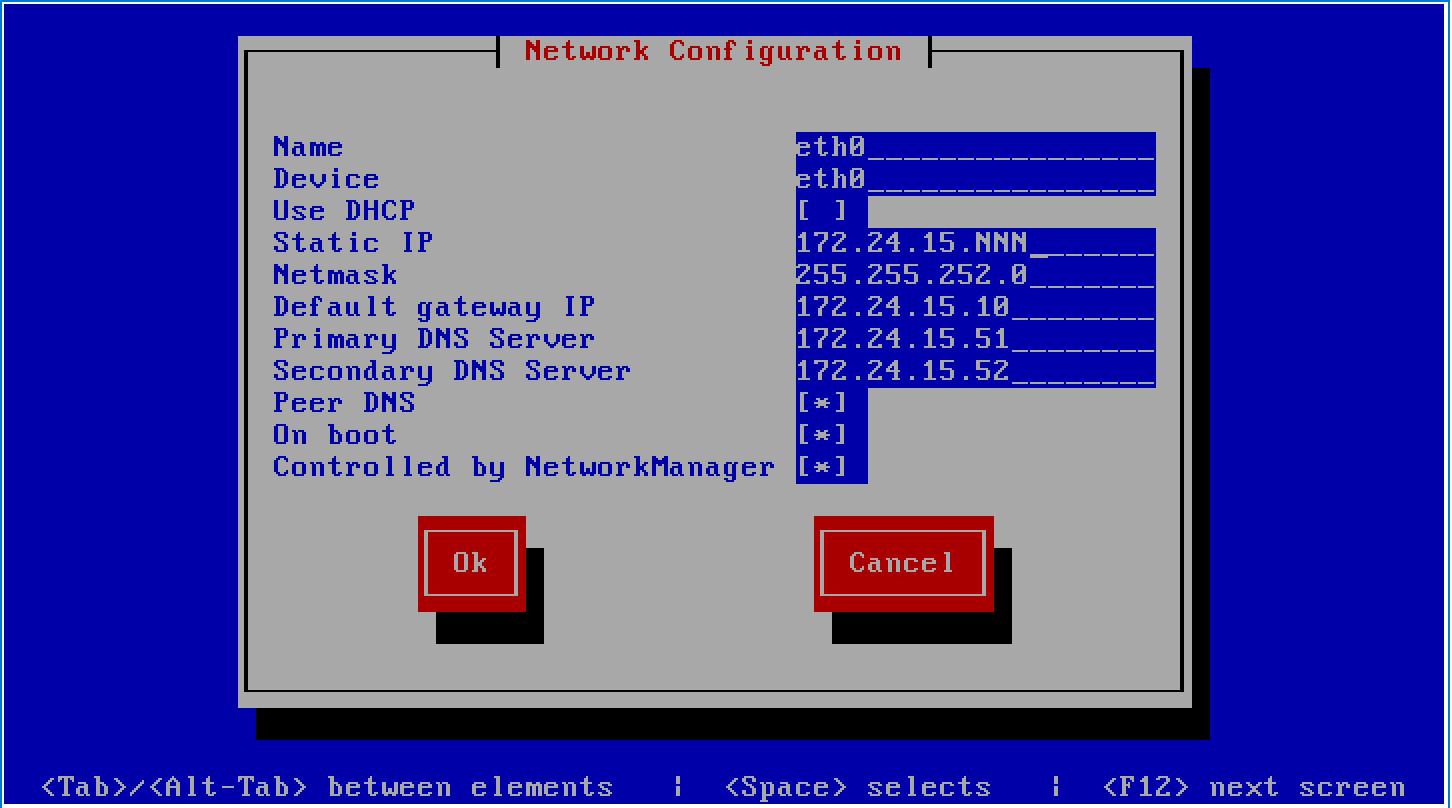
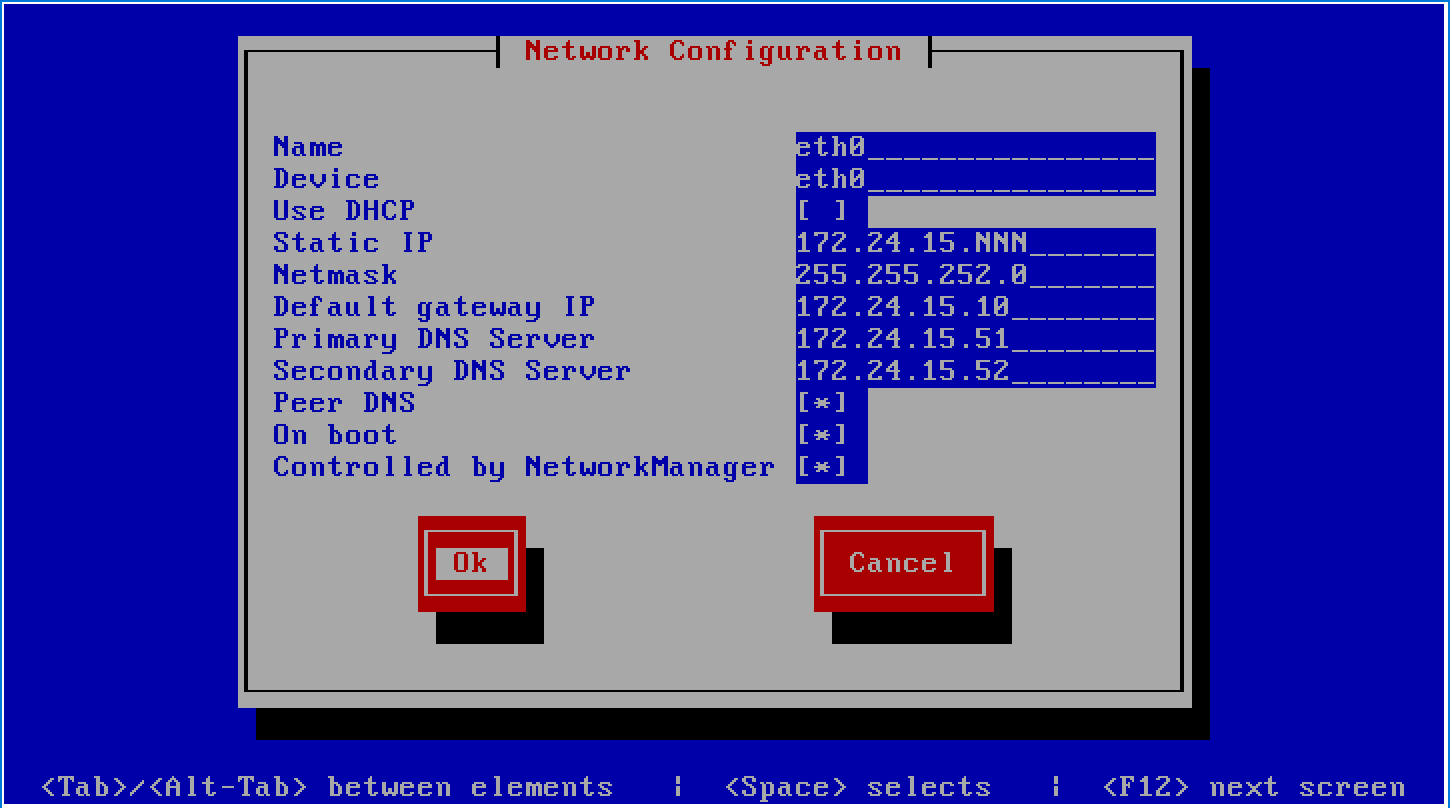
Device Configuration
| Subnet | Network | Network Mask | Bit | Purpose |
|---|---|---|---|---|
| OAM&P | 172.24.12.0 | 255.255.252.0 | /22 | Management Network |
| MCAT | 172.17.70.0 | 255.255.255.0 | /24 | Core MCAT Network |
| Client | d.d.d.d | d.d.d.d | Client Connections |
IP addressing follows a common host number convention. Where all the IP addresses end with the same digit. ___.___.___.254 Where a client specified subnet allows. The host number must be used for all the internal subnets used on the MCAT platform.:
# Default Host Number = 254
OAM&P = 172.24.15.254
MCAT = 172.17.70.254
Client = 192.168.0.254
Warning
Only the OAM&P network (eth0) should have the Default gateway IP and DNS server settings. Leave these settings empty for other network interfaces.
Important
Some carriers require the network interface is the primary connection. This requires a different connectivity model to be used.
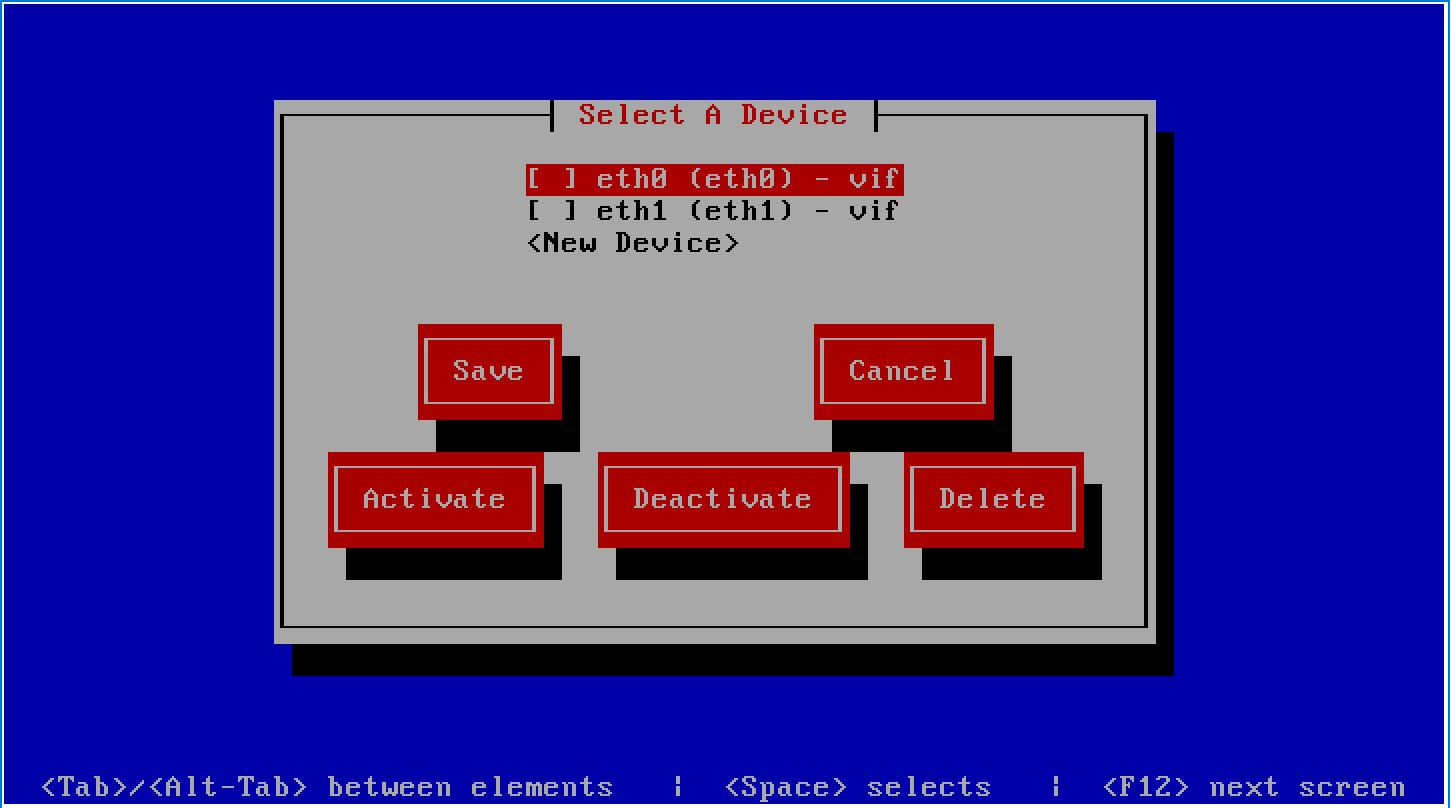


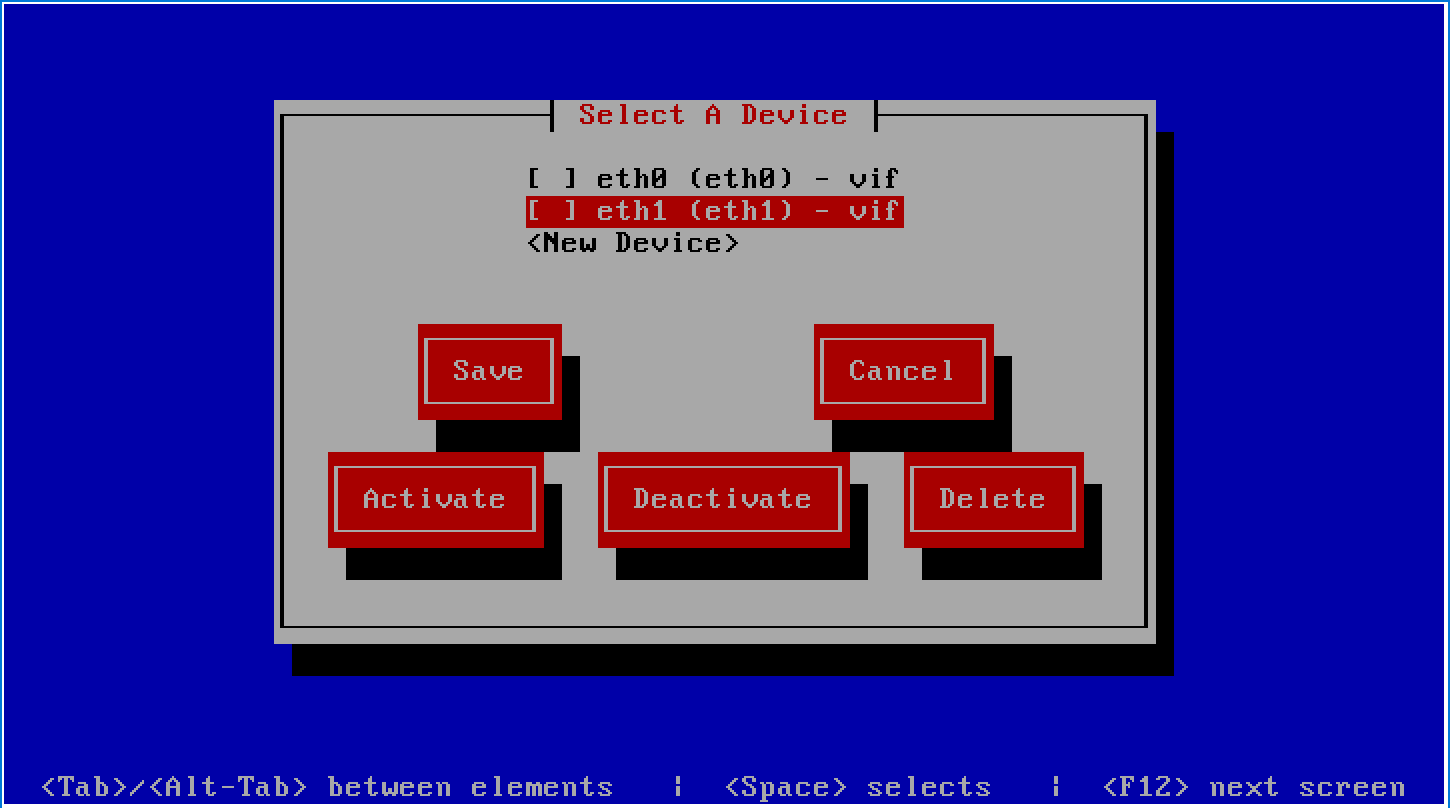


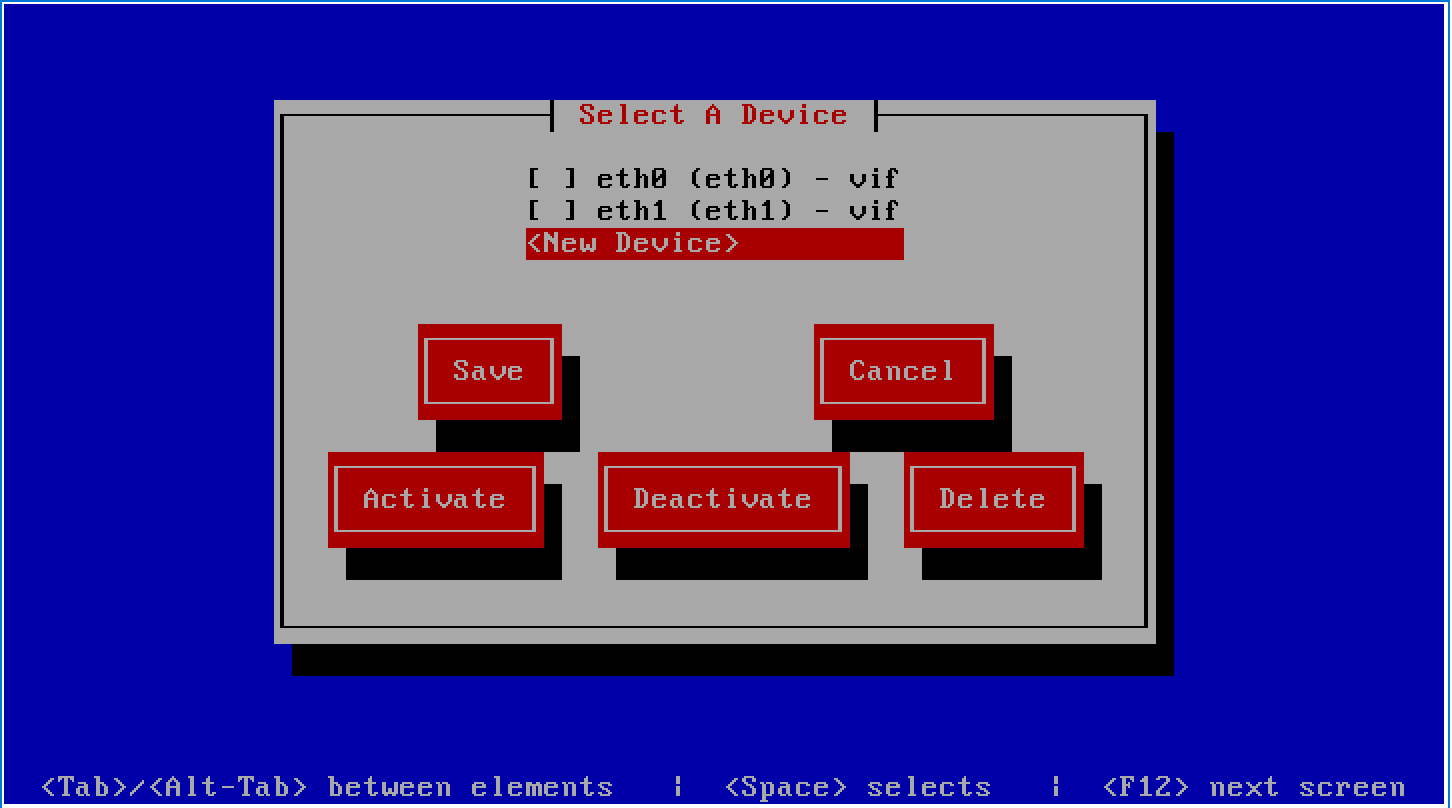
Adding Network Interfaces
For each additional network interface needed to support the client, perform the following steps.
- Select
New Device.
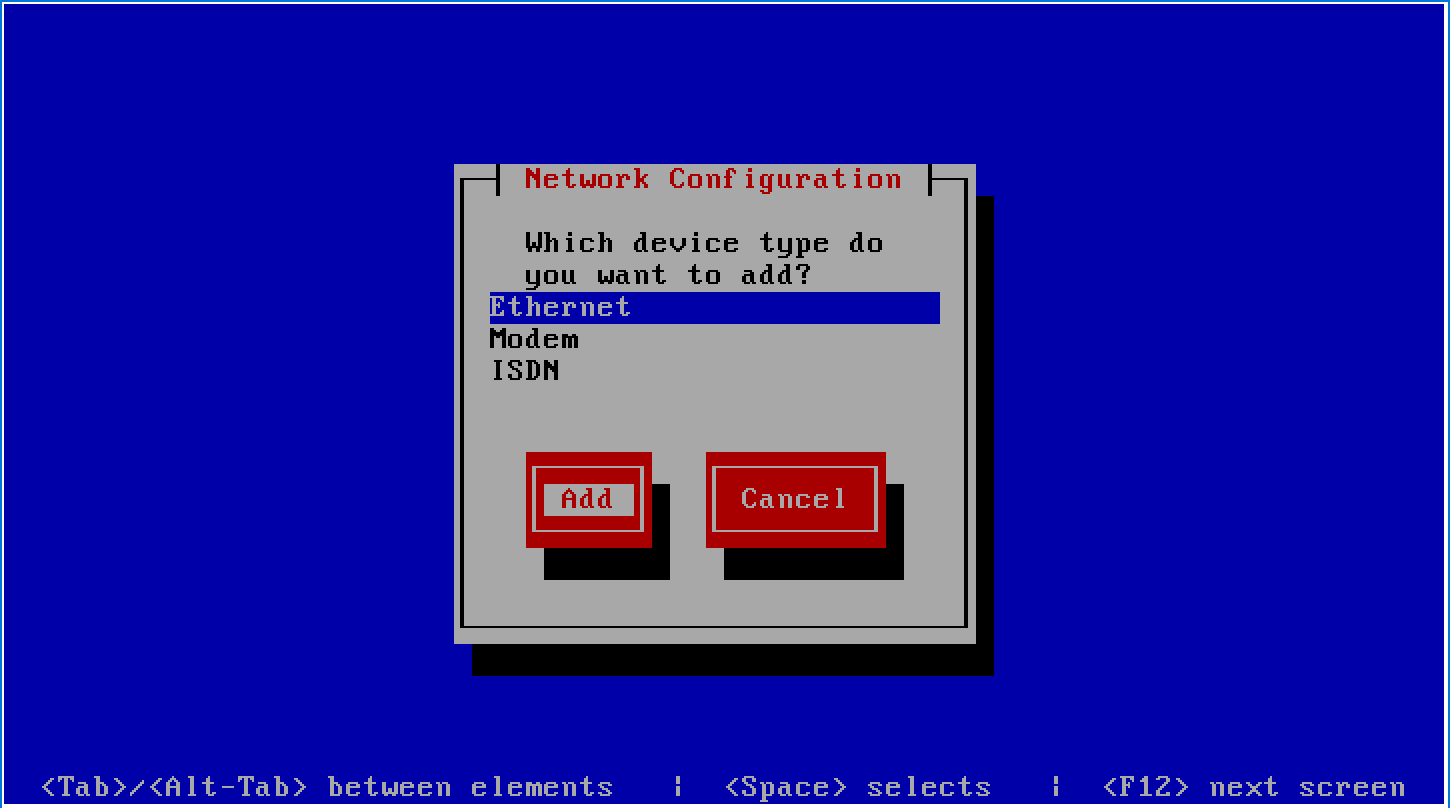
- Choose
Ethernetas the device type.
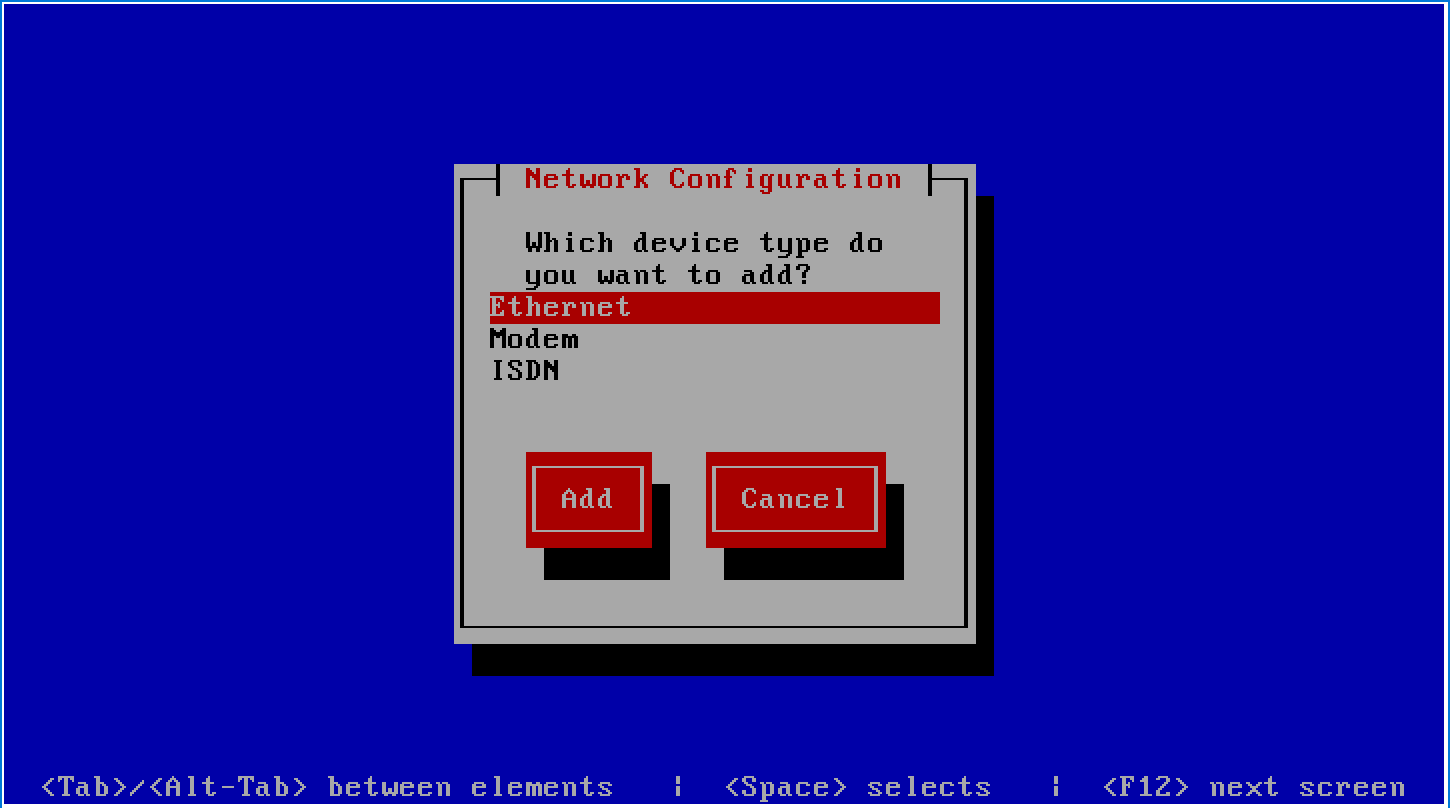
- Select
Add.
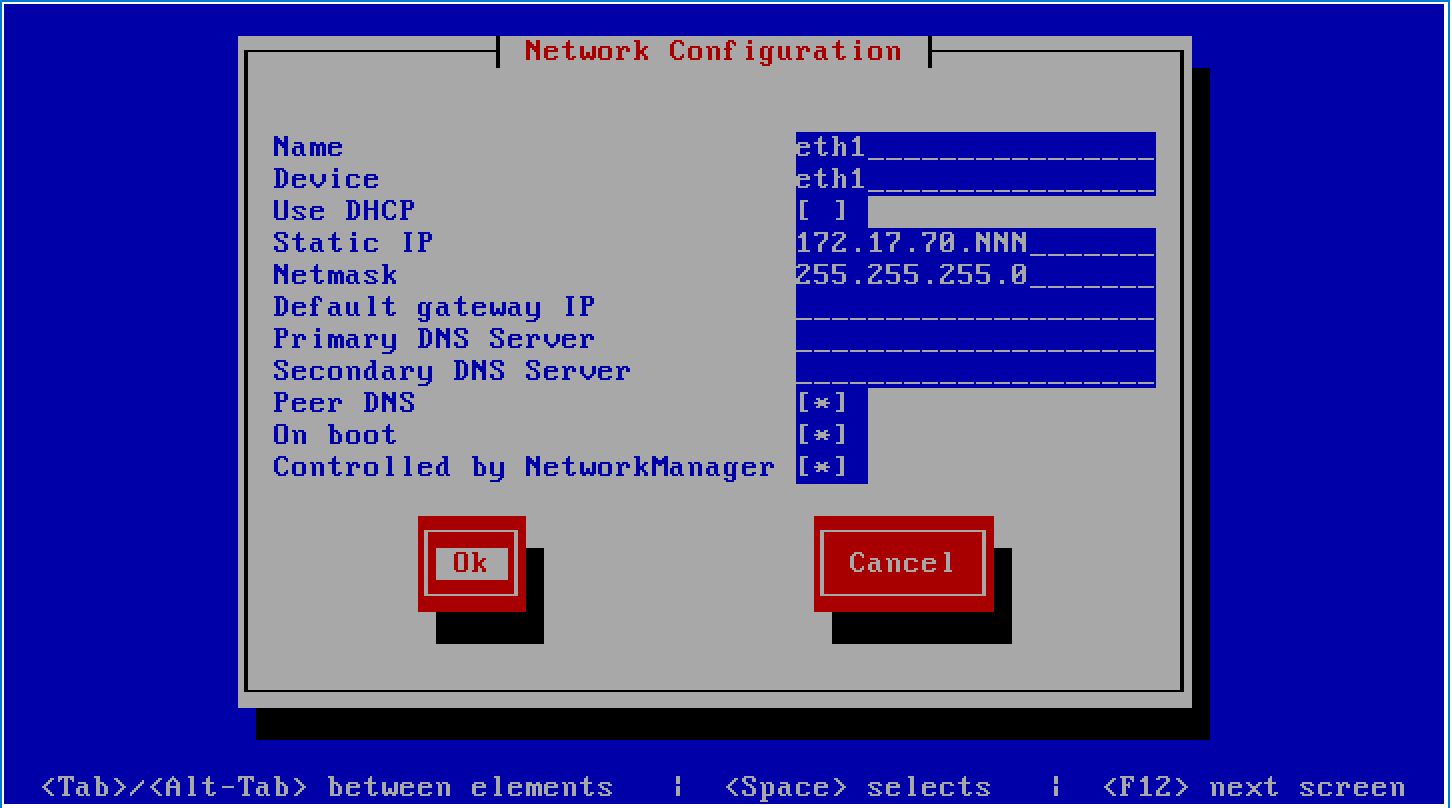
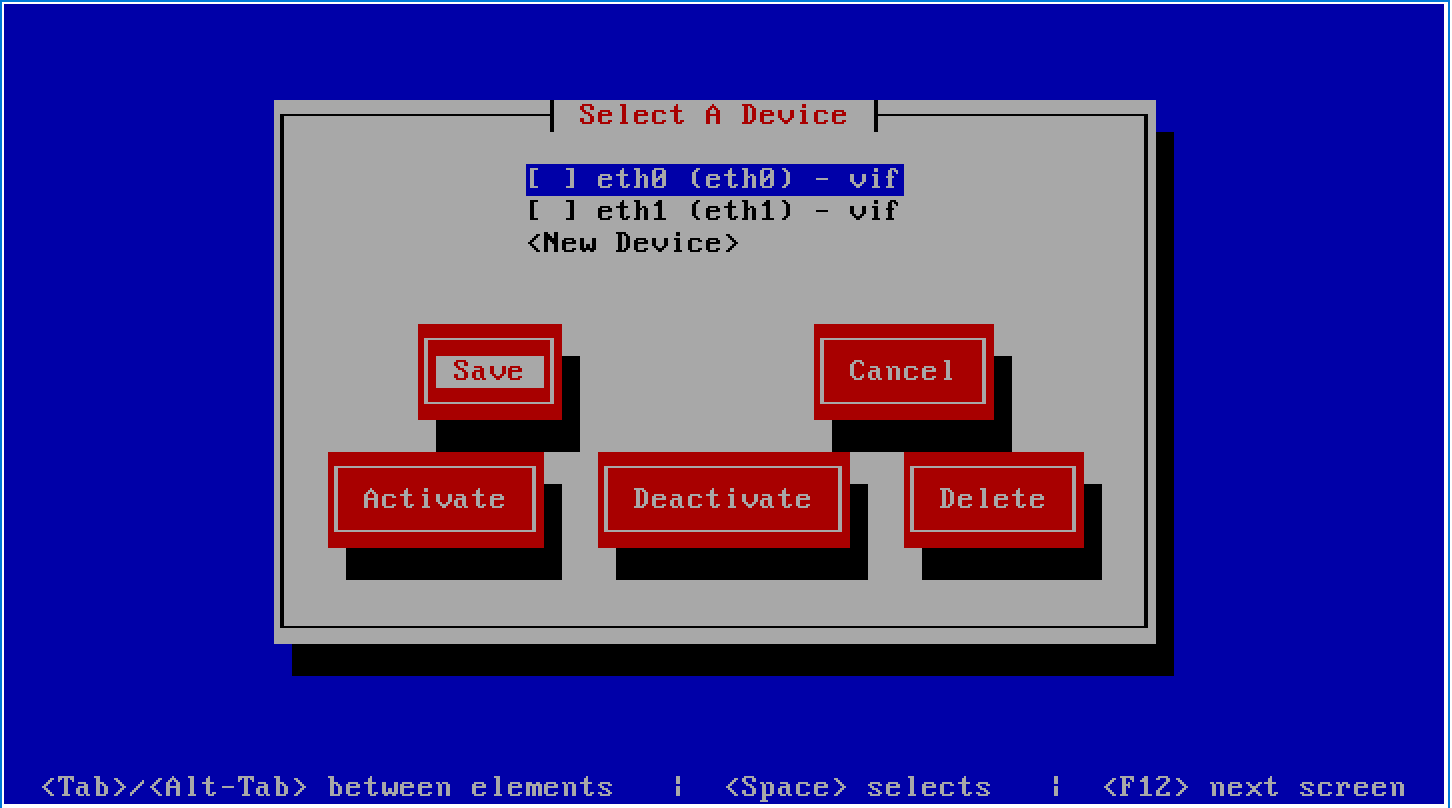
- Enter the
Network Configurationdetails.

The Name and Device should increment from the last configured interface. eth2, eth3, eth4, etc…
Warning
Only the OAM&P network (eth0) should have the Default gateway IP and DNS server settings. Leave these settings empty for other network interfaces.

- Select
Saveonce all the devices have been configured.
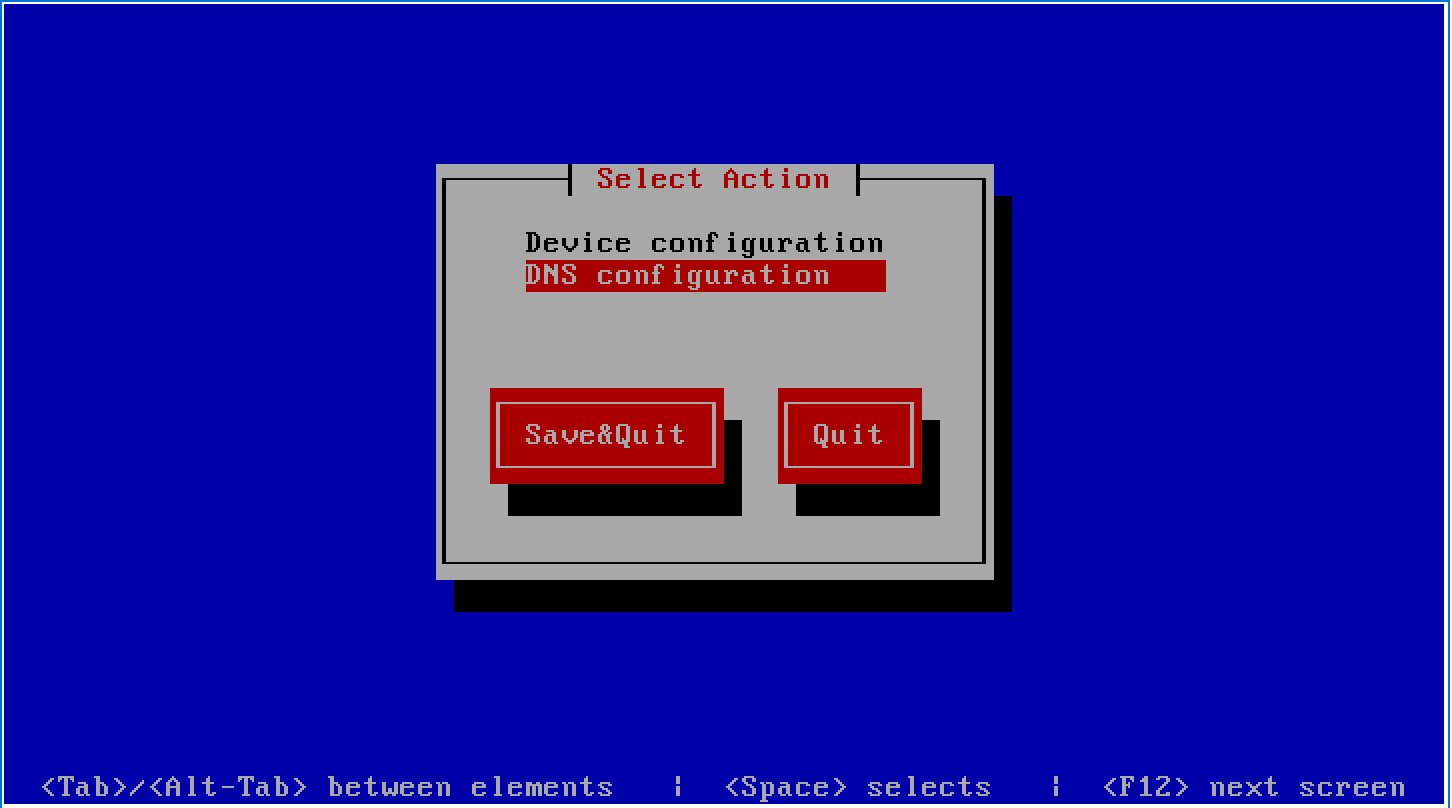
DNS configuration
The hostname may be the long INVITE CLLI styled ID or the short version.
invttmtjwx03.tmtj.invite-comm.jp
-or-
wx03.tmtj.invite-comm.jp
Hint
The hostname can be set at this stage in the process -or- by directly editing /etc/sysconfig/network. Changing the hostname directly requires the VM to be rebooted again.
# /etc/sysconfig/network
NETWORKING=yes
HOSTNAME=wx03.tmtj.invite-comm.jp
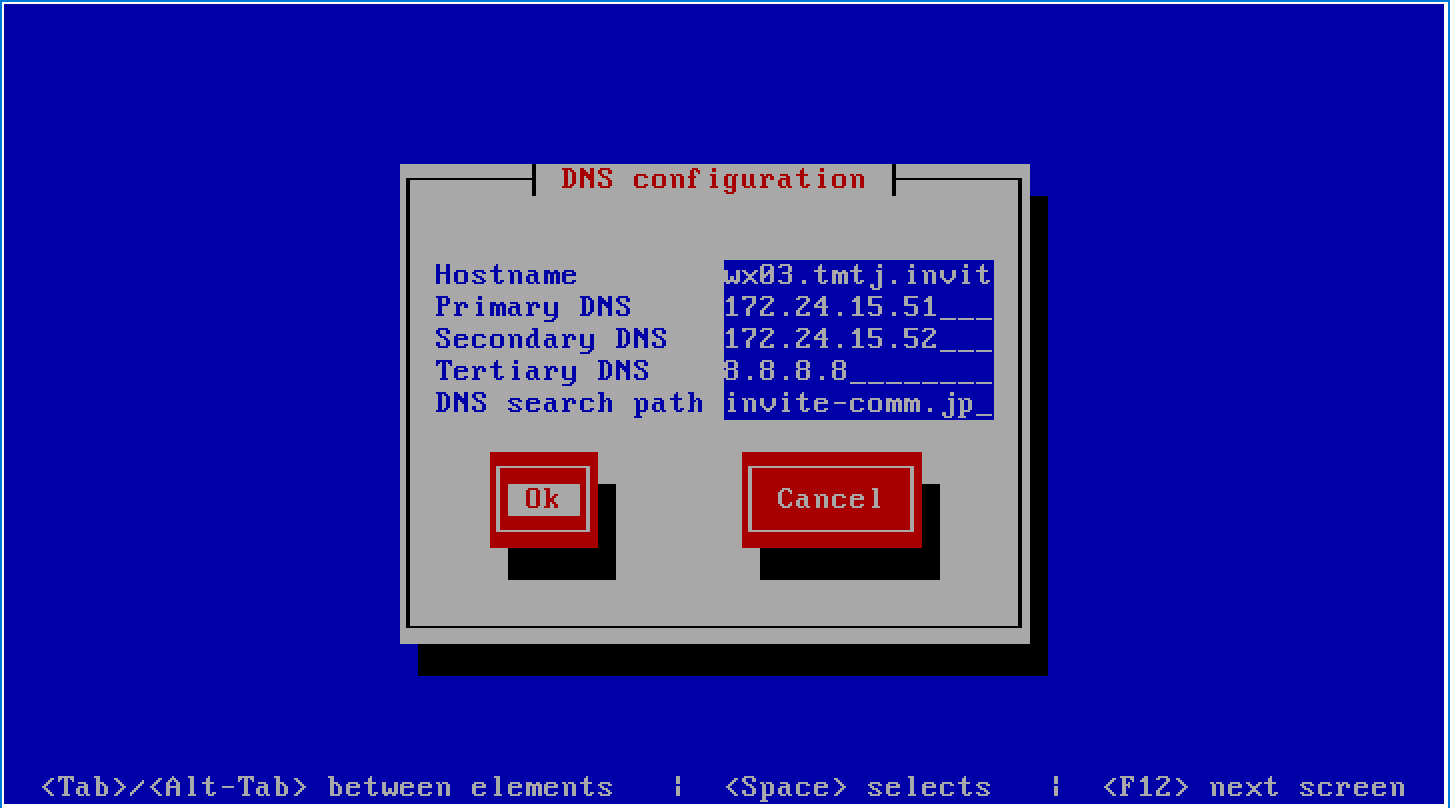
- Enter the
DNS Configurationdetails.
| Field | Setting |
|---|---|
Hostname |
hostname .tmtj.invite-comm.jp |
Primary DNS |
172.24.15.51 internal |
Secondary DNS |
172.24.15.52 internal |
Tertiary DNS |
8.8.8.8 external for backup |
DNS search path |
tmtj.invite-comm.jp invite-comm.jp |


- Select
OK
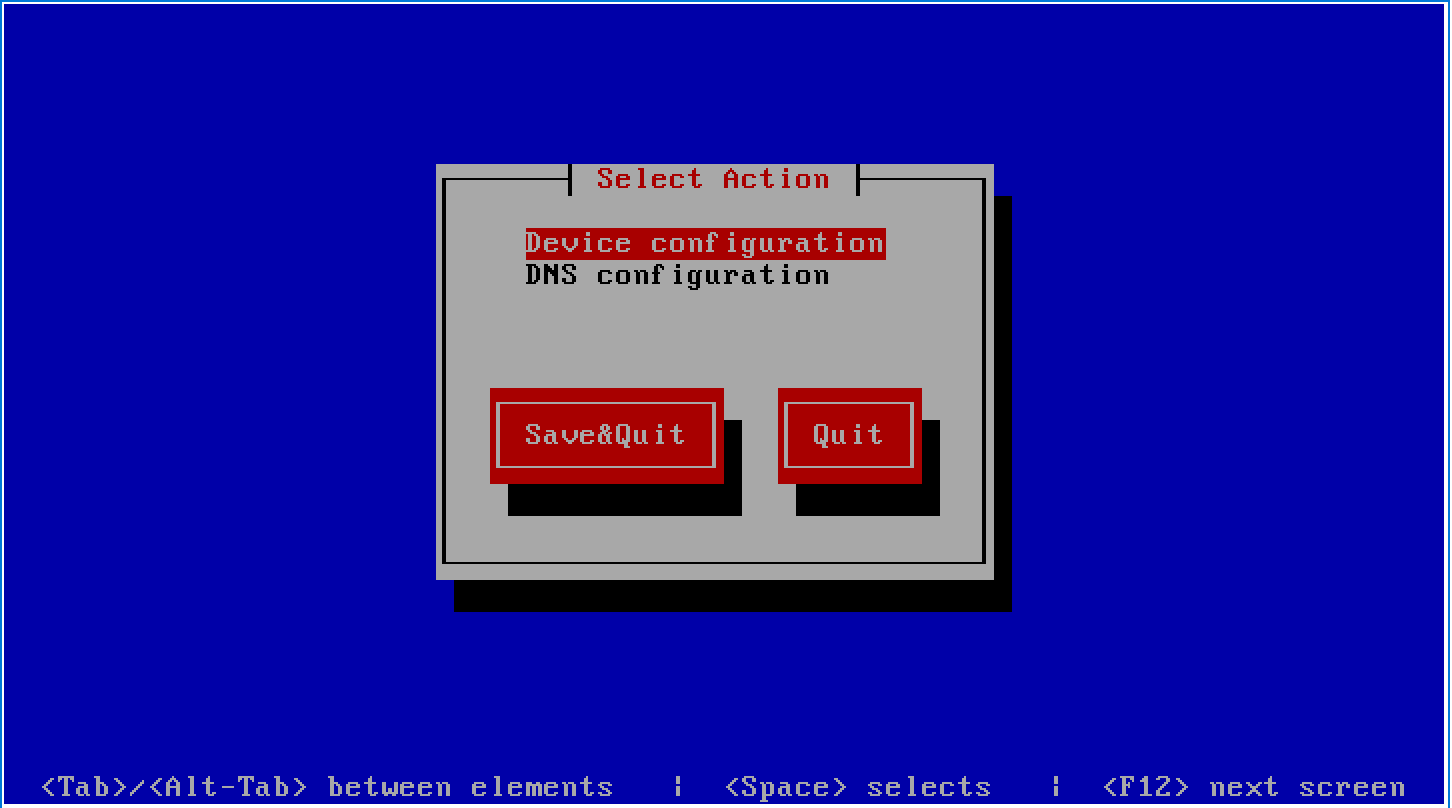
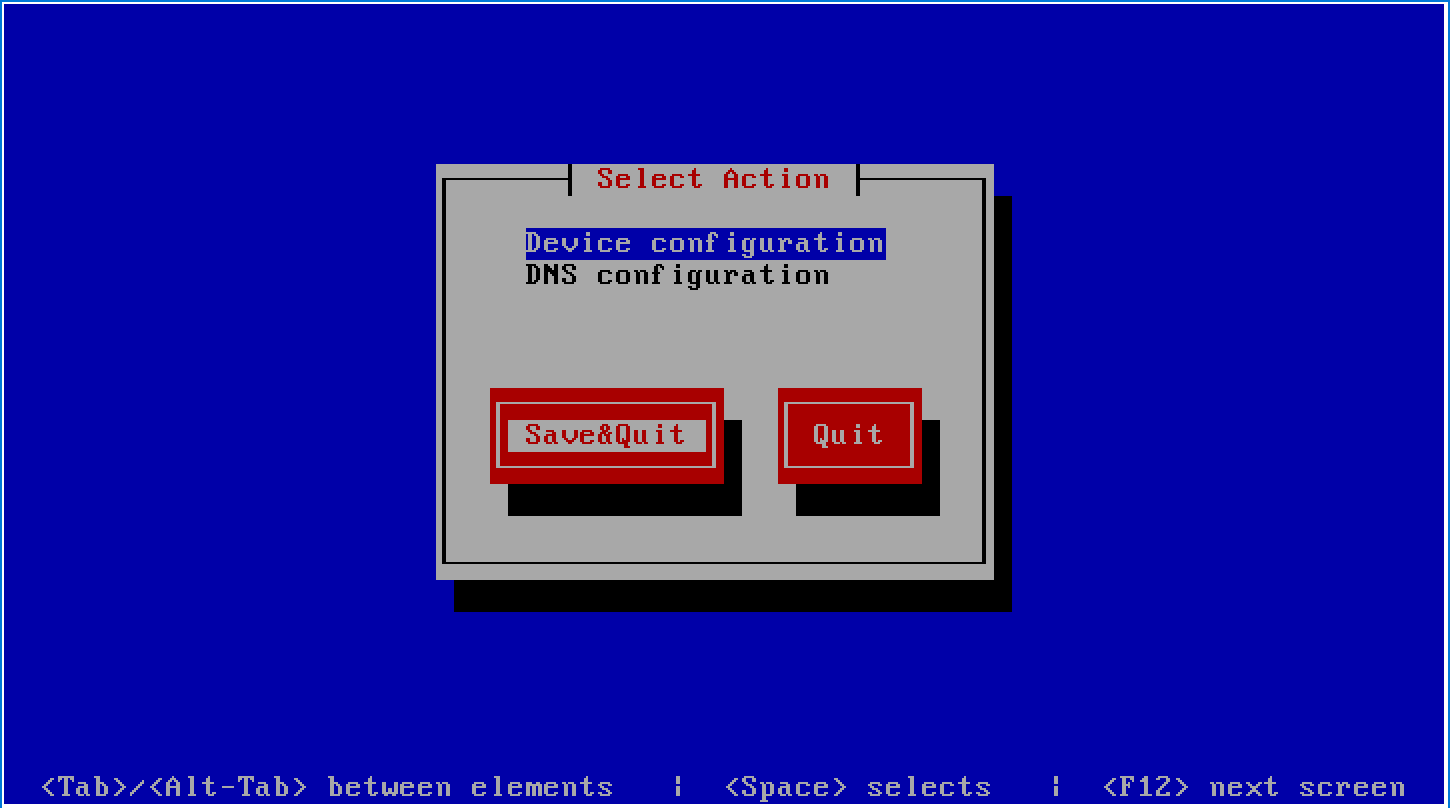
- Select
Save&Quit
Authentication Configuration
The first boot process with prompt for Authentication Configuration settings. This may be skipped.
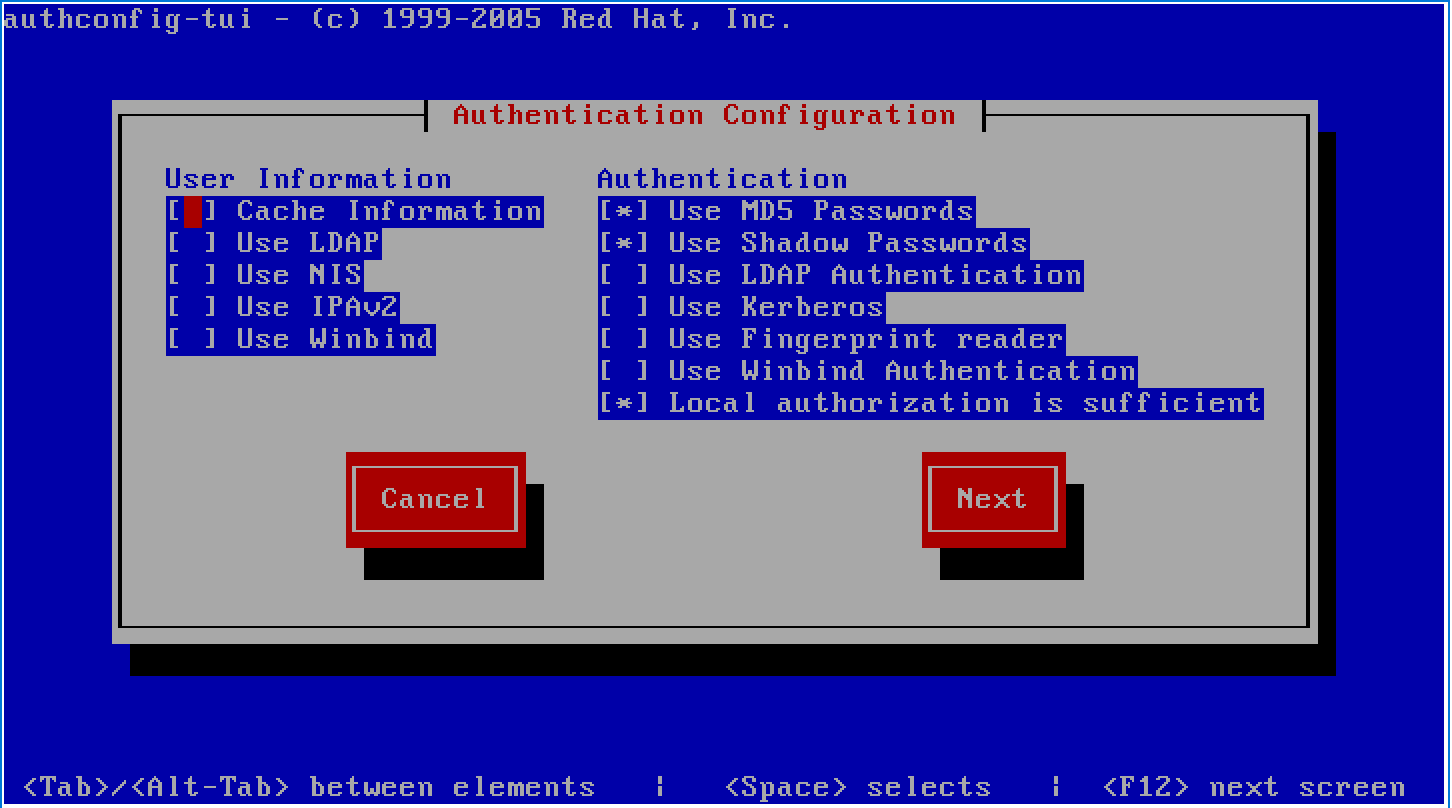
- Select
Nextand the system will reboot
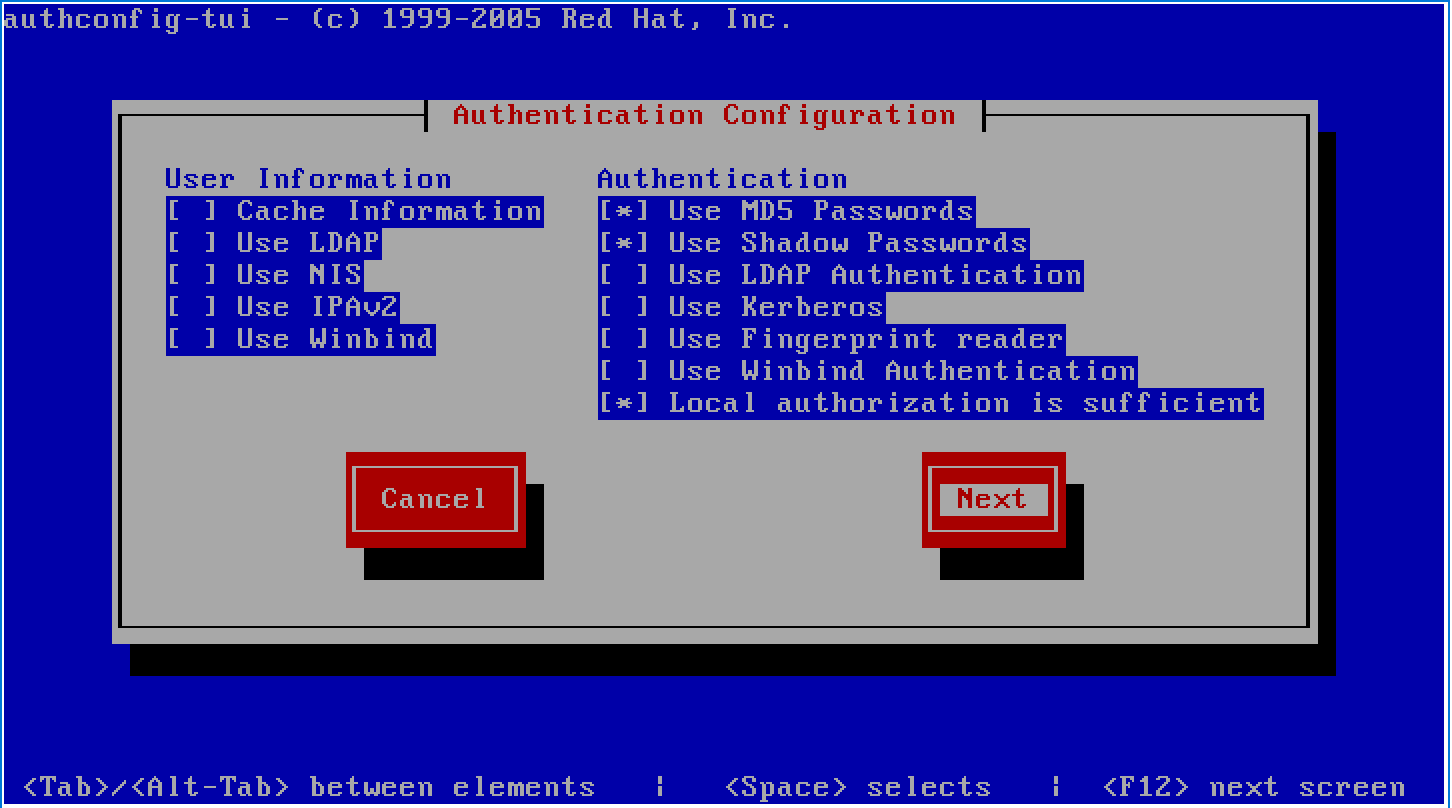
- Done
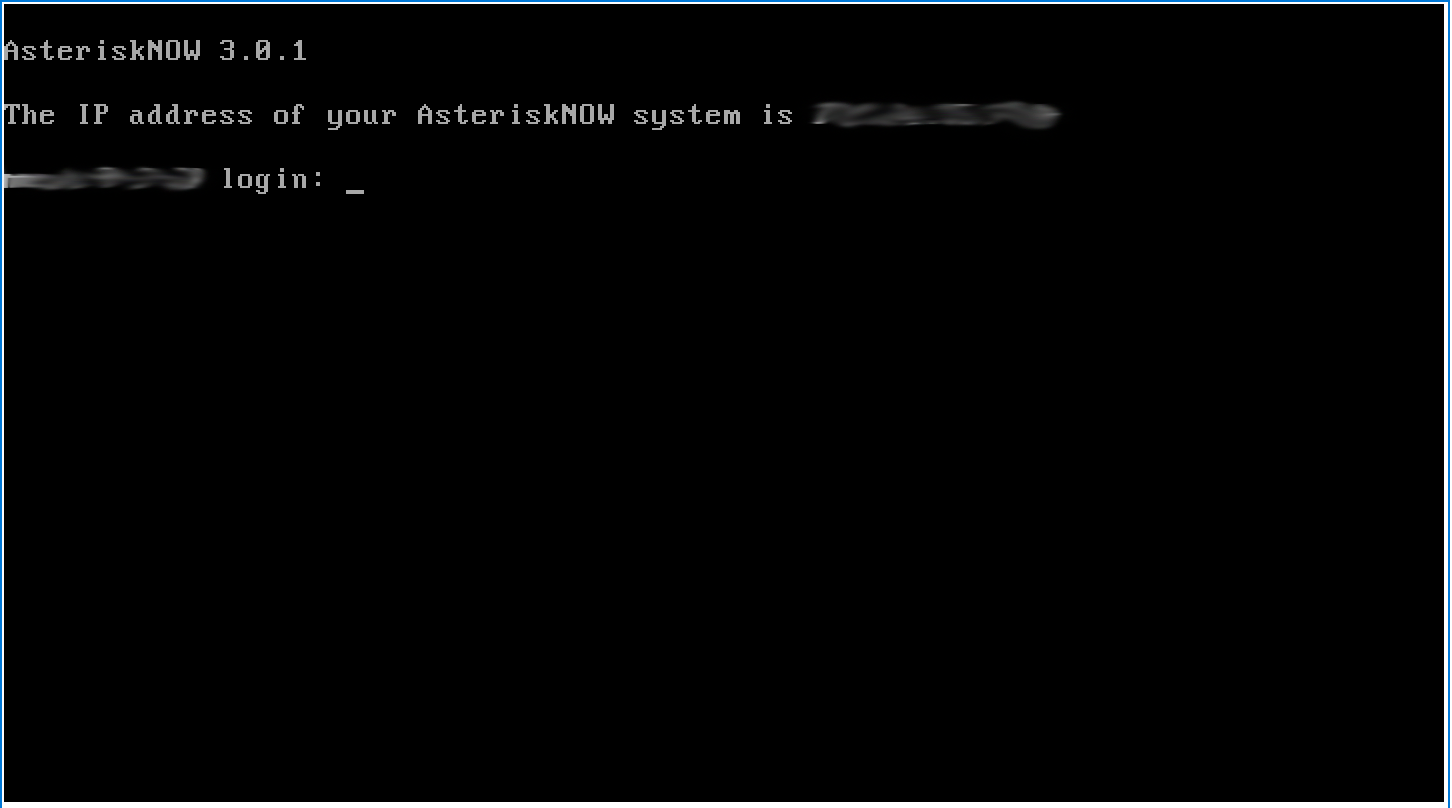
Attention
You can now connect to the system via ssh.
Tip
You may run the sys-unconfig command at this point. It will shut down the virtual machine returning to the First Boot condition. This is helpful to create a clone of the virtual machine in the XenConsole with all the interfaces and networking configured. Follow the above steps for the clone and leave the setting untouched for the original.